|
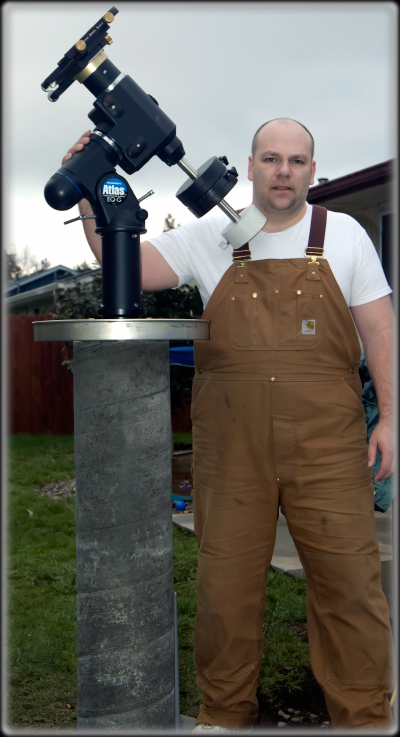
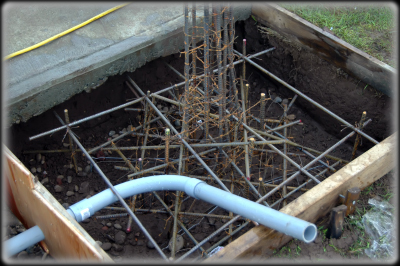
Pier Base: |
3' x 3' x 3' |
|
Pier Diameter: |
10'' |
|
Concrete: |
Thirty five 80 lb bags of concrete mix. |
|
Steel: |
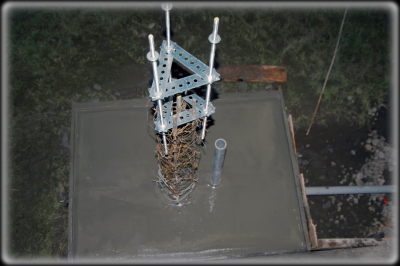
As seen in the photos a lot of steel and wire was used.
|
|
Power: |
Power is distributed underground and goes to the wooden pier first and then
is distributed to the concrete pier. |
|
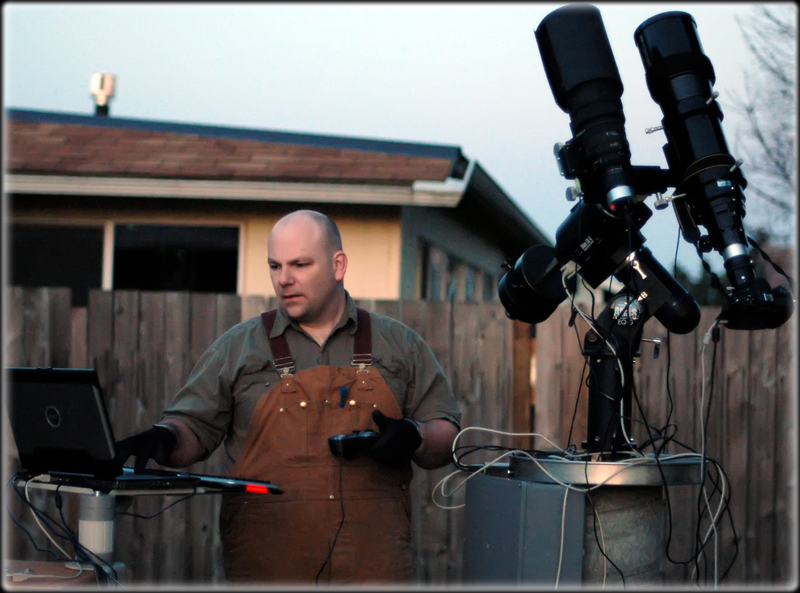
Networking: |
In addition to a high power wireless network three CAT6e cables have been
bundled in with the power distribution. These cables go as far as the
wooden pier and are not distributed to the the concrete pier. I typically use one
cable for a high speed network connection and the others are used to extend
USB connections over 100 ft. By doing this I maintain an indoor computer
with dedicated connections to the mount and gear. If I need to do some work
at the scope I take a laptop outside and remote connect to the dedicated
computer. To start imaging all I need to do is go outside and pull the cover
and duck back into the house where it is warm. |
|
USB Connections: |
Each CAT6e extended USB connection is attached to an
industrial 4 port USB
hub. These are not your typical retail hub found in the home and can be
directly powered from a 12V deep cycle battery. These hubs have no problem
feeding multiple high power devices, are very fast, and are better able to
handle cold weather. |
|
RS232: |
To
eliminate the problem of COM port re-assignment
I utilize a USB-to-RS232
adapter that retains the COM port permanently. The mount is not operated by
a hand controller but open source software called EQ Mod. This means it is
important to retain
the com number which would otherwise change anytime the adapter is moved on
the USB
hub or a change in the hub would have otherwise cause a new number to be
assigned. |
|
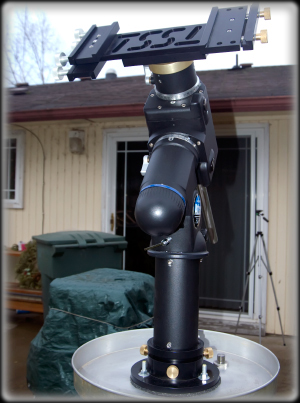
Equipment Trey: |
2" deep
18" round cake pan from eBay for a few bucks.
|
|
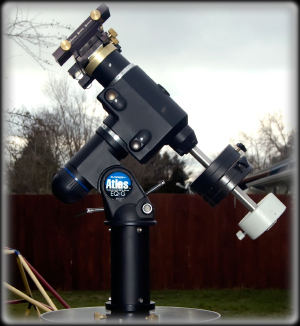
MMAB: |
A Mount Mate Adapter Base allows you to quickly place or remove a mount from
the pier. Different adapters can be purchased so that your pier is
compatible with any mount regardless of the mounts design. The MMAB also has
an indexing system to maintain the mounts alignment with the pier. This
means you no longer have to re-align the mount after it has been removed
from the pier and put back on. |
|
Vibration Reduction: |
A 1/4” of vibration damping material sits between the MMAB and Pier. It was cut from a sheet of High-Capacity
Vibration Damping Fiber-Reinforced Neoprene having a 1500 PSI Max Load for each of the three mounting bolts. The Durometer rating
for this material is 80A which is
consider just under extra hard and comparable to some shoe heals. It works
quite well and has no noticeable flexure. |
|
Base Extension: |
Between the MMAB and the mount is an 8" extension that lifts the mount above
the pier to accommodate for large reflectors an or refractors. To reduce vibrations and prevent flexure
this extension has been filled with concrete. |